How Audio-Technica Builds the ART1000 MC Phono Cartridge (price and tech correction)
The ART1000 is manufactured in a small corner of the Machida City factory where one well-trained woman is responsible for the nearly impossible task of assembling the special cartridge. I saw her do it, but was not allowed to video the process. However, I was given permission to describe it.
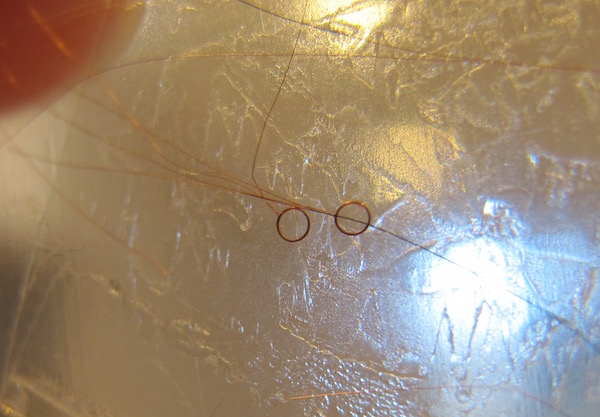
First, aided by a microscope she winds the tiny coils a specified number of turns on a specially made miniature coil winder. Because it's not wound on a former that becomes part of the finished cartridge, once it's wound on a tiny bobbin she carefully applies alcohol from a tiny diameter dispenser that melts the wire's enamel layer, which quickly re-hardens, thus maintaining the coil's round shape. It's then removed from the bobbin, after which she carefully dresses the tiny diameter leads. A pair of the end products looks like this:
Next, she carefully places a tiny clear, stiff, translucent film onto a work space under a powerful microscope. The film has two precisely placed circular recesses into which she has to carefully maneuver the two coils, one at a time. There's no room for error. The tiny coils must fit perfectly within the shallow circular recesses. They are placed one at a time and then each is affixed with another drop of alcohol. If the coil accidentally moves before it's fixed on the film, all of the work is for naught and she has to start over.
Once both coils have been properly affixed to the film, a special jig is used to hold the film in place while she uses tiny tweezers to place the cantilever/stylus assembly in place atop the film/coil assembly.
Again, there's no margin of error. Now she has to carefully affix with adhesive to the top of the stylus shank the film containing the coils.
When that assembly is complete, she next has to carefully thread the damper assembly onto the cantilever and using another special jig created by the cartridge designer Mitsuo Miyata, she places the cantilever into the rear "pipe" and tightens the tiny grub screw, completing the coil/stylus/cantilever assembly.
Well not quite: she also has to dress and flatten the tiny coil wires atop the cantilever and again, using alcohol, neatly to melt the enamel, fix the wires in place.
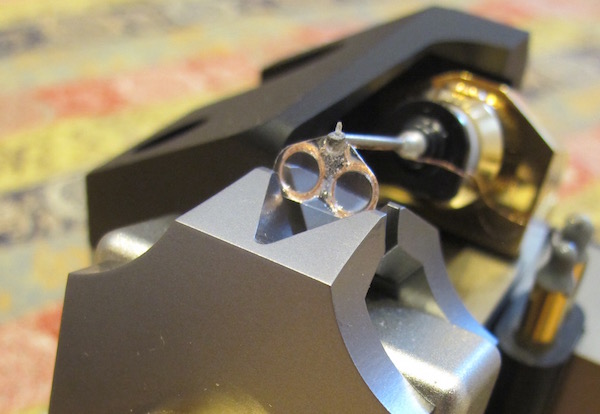
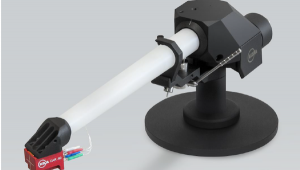
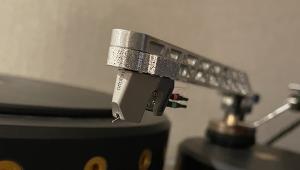
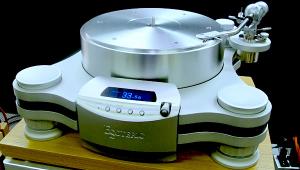
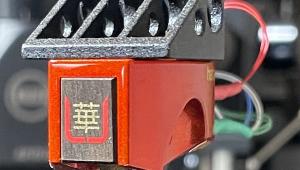
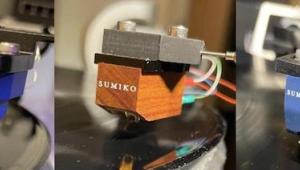
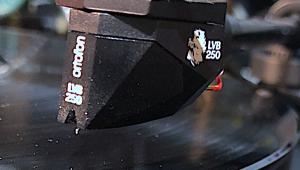
The above photo shows what the final assembly looks like, though the actual one is far smaller. The cartridge body is machined Titanium. Each cartridge is then tested for all of the usual parameters. Because the positioning of the coils in the magnetic gap is so 'severe' and critical, each cartridge comes with its own precise tracking force specification. There's no recommended range. You have to set it precisely as recommended for your particular sample, though they are all within a small range.
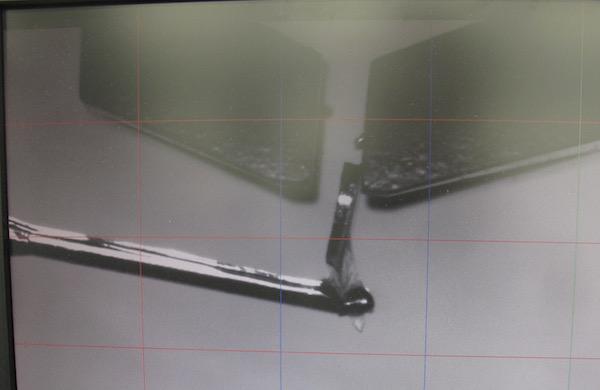
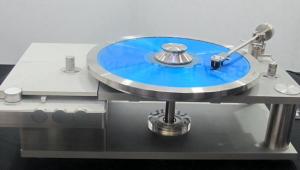
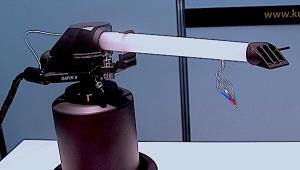
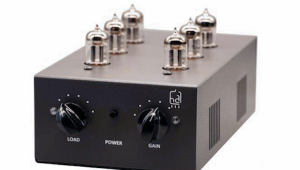
The image at the top is of a rejected, assembled cartridge. As you can see the coil profile does not sit centered in the gap, and therefore all of this work is for naught.
This is why assembly takes so long and only two hundred can be built annually. And it also helps explain the $5000 cost. Is it worth the money? Read the review in an upcoming Stereophile "Analog Corner". However, before that's published we'll post a 96/24 file here on analogplanet.com that you can download and listen for yourself!
And of course all of this helps explain why, should your ART1000 need a "re-tip" it will cost more than the usual 're-tip' cost: approximately 65% of the cost of a new ART1000.


| Equipment Reviews | The Gruvy Awards | Blogs Analog Tips | Columns Music | Show Reports | News Resources |
 © 2025 AnalogPlanet
AVTech Media Americas Inc.
All rights reserved